Your first five minutes
After creating an account you will go through a short setup sequence before landing on the dashboard. This article walks through what to expect and what decisions to make early so the app is set up the way you actually work.
Verify your email
After registering, you will be sent a verification email. All app features are locked until you verify. Check your inbox and click the link, then proceed to the dashboard.
The setup wizard
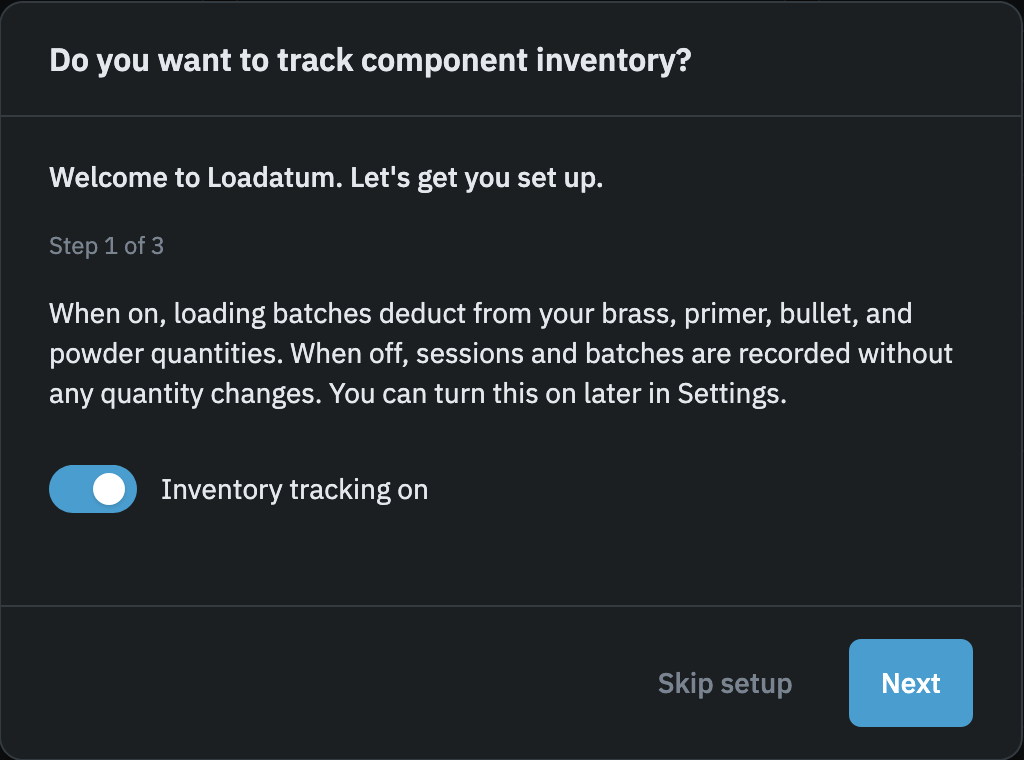
The first time you reach the dashboard, a setup wizard appears. It cannot be dismissed: you either work through it or click "Skip setup" to close it. Your choices here are not permanent; all of them can be changed later in Settings.
Step 1: Inventory tracking. This is the most important decision in the wizard. When inventory tracking is on, logging a batch deducts from your brass, primer, bullet, and powder quantities automatically. When it is off, sessions and batches are recorded as history only, with no quantity changes. Inventory is on by default. Turn it off if you do not want to manage component quantities and just want a log of what you have loaded and shot.
Step 2: Calibers and brass tracking. Add each caliber you currently load for and choose how to track brass per caliber: individual lots (track each case of brass separately with its own times-fired count) or a pool (treat all brass of that caliber as a single running quantity). In lot mode, a retirement threshold field also appears where you can set the firing count at which a warning shows for that caliber's brass. Leave it blank to use the site default. You can add and remove calibers, switch modes, and adjust thresholds later in Settings. Skip this step if you are not sure yet.
Step 3: Reference loads. A link to the published loads browser, which contains manufacturer load data you can use as a starting point for your own recipes. Nothing to configure here.
What to do after the wizard
Where you go next depends on your goal.
If you want to start logging production right away: go to Recipes and create a load recipe first. A recipe is required before you can log a batch, so this is always the first step regardless of what else you set up.
If you want full inventory tracking from the start: go to Inventory and add your current component stock before logging any batches. Once components are in the system, every batch you log will deduct from them automatically.
If you just want to explore: browse the Reference Loads section to see what published data is available for your calibers, then come back and create a recipe when you are ready.
Settings
The Settings page is accessible from the dropdown in the top-right corner of the screen (your username). From there you can change your theme, toggle inventory tracking on or off, set low-inventory alert thresholds, manage per-caliber brass retirement thresholds, and restart the setup wizard if you want to run through it again. Turning inventory tracking off preserves all your existing data. Turning it back on gives you the option to keep that data or clear component quantities and start fresh.
See How inventory, recipes, batches, and range connect for an overview of how the different parts of the app relate to each other.